Internet Security Router User
’s Manual
Chapter 9. Configuring Firewall/NAT Settings
81
9.7.4.2
Access Time Range Configuration Page
– (Firewall è Policy List è Time Range)
Log into Configuration Manager as admin, click the Firewall menu, click the Policy List submenu and then
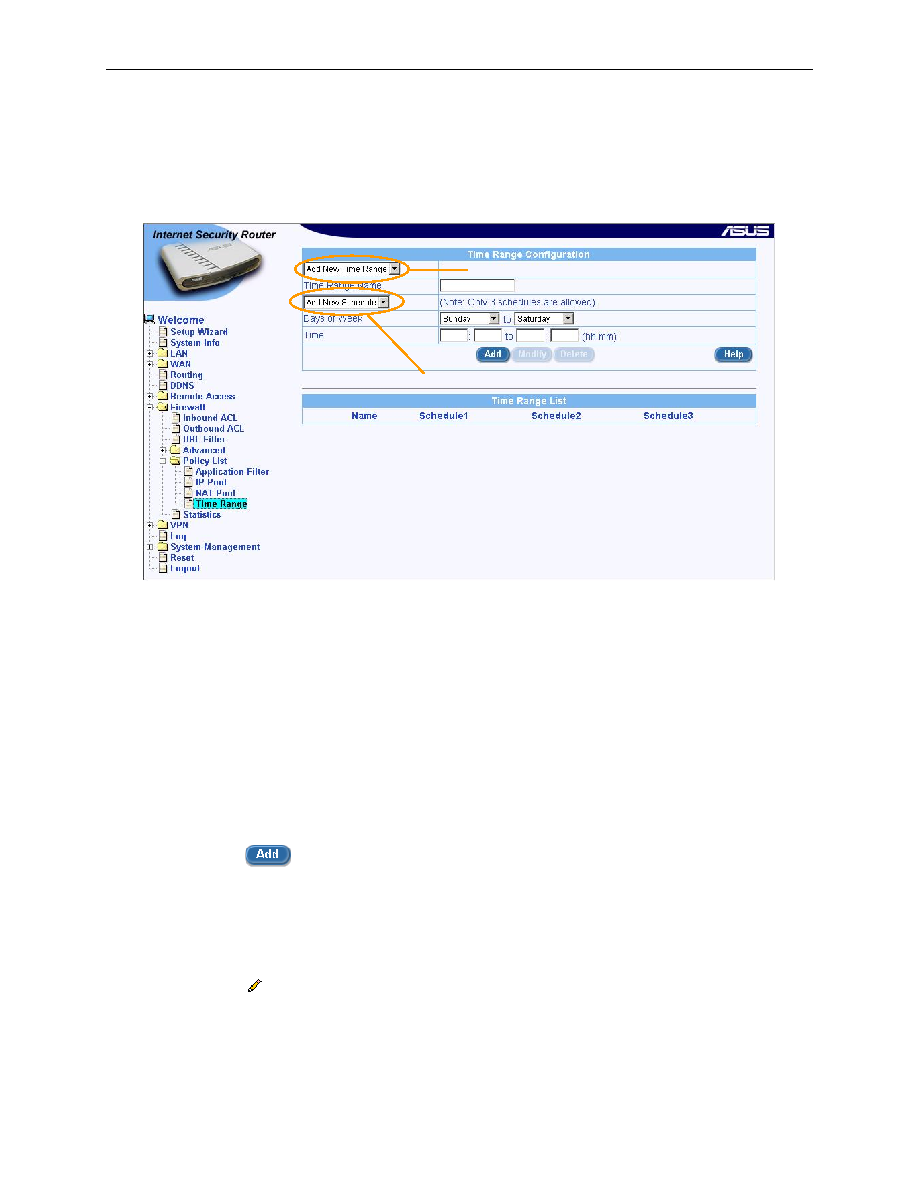
click the Time Range submenu. The Time Range Configuration page displays, as shown in Figure 9.33.
Note that when you open the Time Range Configuration page, a list of existing time ranges is also displayed at
the bottom half of the configuration page such as those shown in Figure 9.33.
Figure 9.33. Time Range Configuration Page
9.7.4.3
Add a Time Range
To add a Time Range, follow the instructions below:
1.
Open the Time Range Configuration page (see section 9.7.4.2 Access Time Range Configuration
Page
– (Firewall è Policy List è Time Range)).
2.
Select
“Add New Time Range” from the Time Range drop-down list.
3.
Enter a name into the Time Range Name field.
4.
Select
“Add New Schedule” from the Schedule drop-down list.
5.
Select Days of Week. For example, from Sunday to Saturday.
6.
Enter day hours, For example, from 08:00 to 18:00.
7.
Click on the
button to create the new schedule.
9.7.4.4
Modify a Time Range
To modify a Time Range, follow the instructions below:
1.
Open the Time Range Configuration page (see section 9.7.4.2 Access Time Range Configuration
Page
– (Firewall è Policy List è Time Range)).
2.
Click on the
icon of the Time Range to be modified in the Time Range list table or select the
Time Range from the Time Range drop-down list.
3.
Select the Schedule from the schedule drop-down list.
4.
Make desired changes to any or all of the following fields: Days of week and hours.
Time Range drop-down list
Schedule drop-down list