Internet Security Router User
’s Manual
Chapter 9. Configuring Firewall/NAT Settings
75
2.
Click on the
icon of the IP pool to be modified in the IP Pool List table or select the IP pool
from the IP Pool drop-down list.
3.
Make desired changes to any or all of the following fields: Pool name, Pool type and IP address.
4.
Click on the
button to save the new settings. The new settings for this pool will then be
displayed in the IP Pool list table.
9.7.2.5
Delete an IP Pool
To delete an IP Pool, click on the
icon of the IP pool to be deleted or follow the instruction below:
1.
Open the IP Pool Configuration page (see section 9.7.2.2 Access IP Pool Configuration Page
–
(Firewall
è Policy List è IP Pool)).
2.
Click on the
icon of the IP pool to be deleted in the IP Pool List table or select the IP pool from
the IP Pool drop-down list.
3.
Click on the
button to delete this IP pool.
9.7.2.6
IP Pool Example
Internet
ISR
192.168.1.10
Inside FW
Outside FW
192.168.1.11
192.168.1.12
MISgroup2
MISgroup1
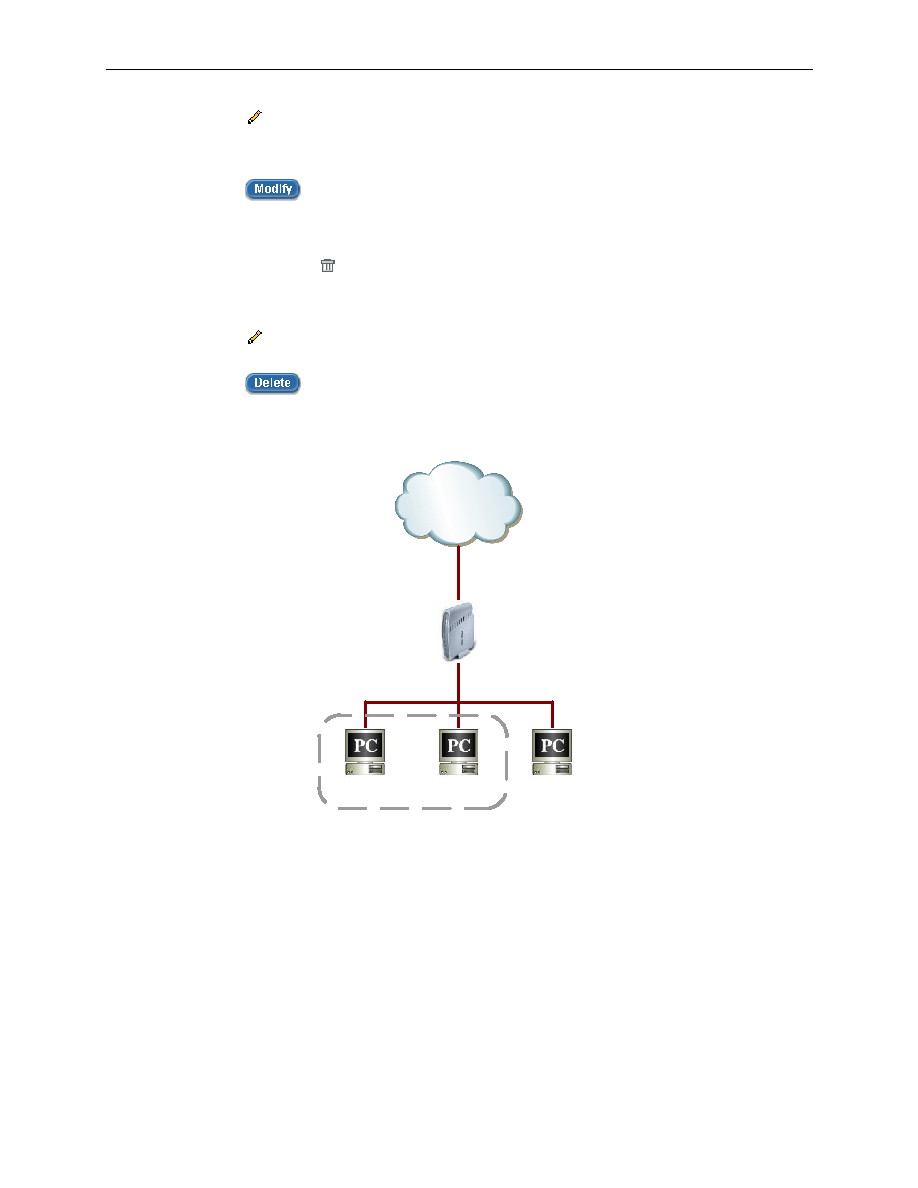
Figure 9.26. Network Diagram for IP Pool Configuration
1.
Open the IP Pool Configuration page to create two IP groups
– see Figure 9.27.

