Chapter 10. Configuring VPN
Internet Security Router User
’s Manual
90
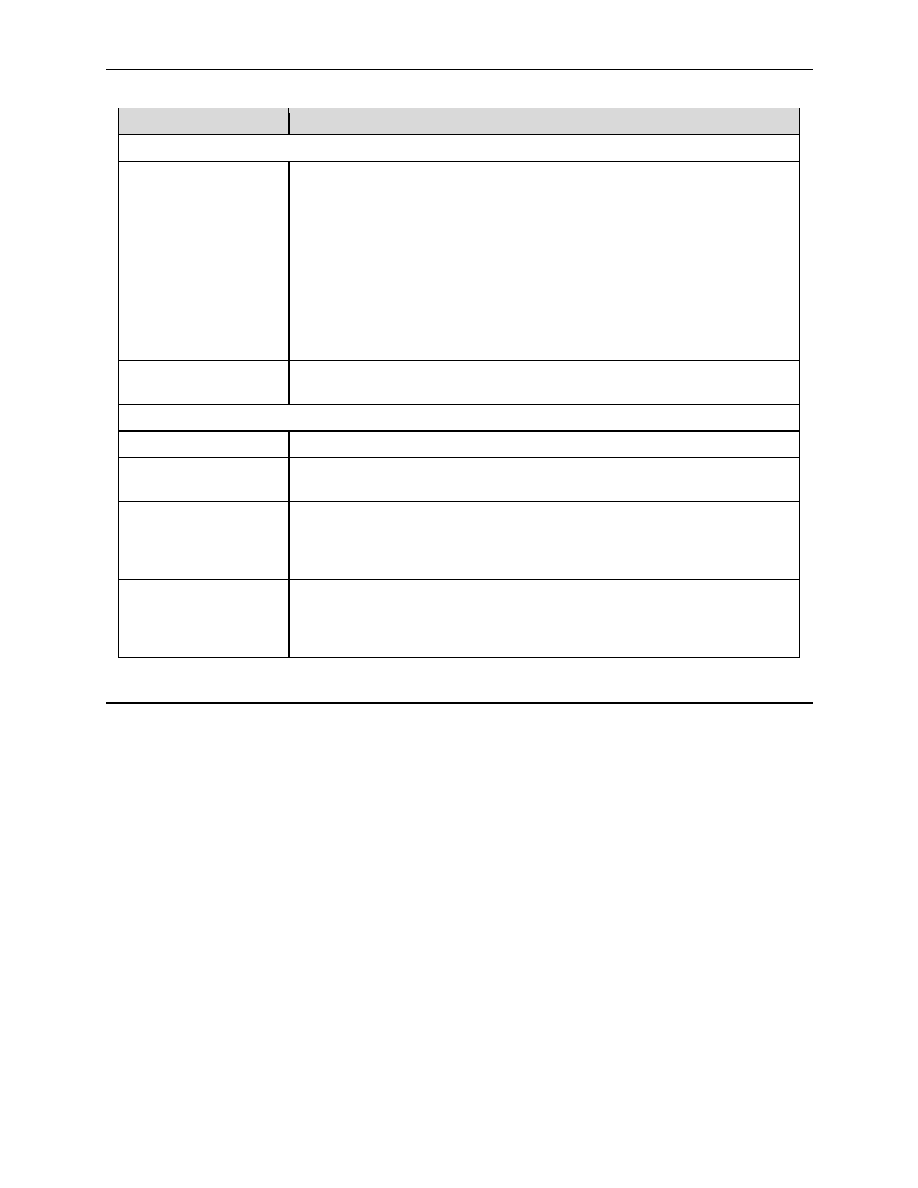
Options
Description
Pre-shared Key Specific Options
PFS Group
PFS stands for perfect forward secrecy.You may choose to use the same
keys (generated when the IKE tunnel is created) for all re-negotiations or
you can choose to generate new keys for every re-negotiation. Select
“None” to use the same keys for all the re-negotiations. Select a specific DH
(Diffie-Hellman) group to generate new keys for every re-negotiation. The
supported DH groups are DH-1, DH-2 and DH-5. The greater the group
number, the more secure the connection is. However, the greater the group
number, the more time it takes to negotiate a tunnel.
Note: With PFS selected, keys are changed during the course of a
connection and the tunnel is more secure. However, enabling this option
slows down the tunnel negotiation.
Life Times
Enter the life time of IPSec security association in seconds, minutes, hours
or days and kilo bytes. Default value is 3600 seconds and 75000 kilo bytes.
Manual Key Specific Options
Encryption Key
Enter the encryption key. To enter the encryption key in hex, start with 0x.
Authentication
Key
Enter the authentication. To enter the authentication key in hex, start with
0x.
Inbound SPI /
Inbound AH SPI
/ Inbound ESP
SPI
Enter the inbound security parameter index. If chained encryption /
authentication is selected for the VPN tunnel, please enter both the inbound
ESP and AH SPIs.
Outbound SPI /
Outbound AH
SPI / Outbound
ESP SPI
Enter the outbound security parameter index. If chained encryption /
authentication is selected for the VPN tunnel, please enter both the
outbound ESP and AH SPIs.
10.3 Establish VPN Connection Using Automatic Keying
This section describes the steps to establish the VPN tunnel using the Configuration Manager. Internet Key
Exchange (IKE) is the automatic keying protocol used to exchange the key that is used to encrypt/authenticate
the data packets according to the user-configured rule. The parameters that should be configured are:
„ the network addresses of internal and remote networks.
„ the remote gateway address and the local gateway address.
„ pre-shared secret for remote gateway authentication.
„ appropriate priority for the connection.
This option sequence brings up the screen as illustrated in Figure 4.2. Fields and buttons represent the basic
VPN parameters. Use them to configure basic Access Rule that will be used to establish a tunnel from local
secure group to remote secure group with basic parameters.
Options in this screen allow you to:
„ Add an Access List, and set basic parameters for it
„ Modify an Access List
„ Delete an existing Access List