ASUS RS160-E2/CS3
ASUS RS160-E2/CS3
ASUS RS160-E2/CS3
ASUS RS160-E2/CS3
ASUS RS160-E2/CS3
6-17
6-17
6-17
6-17
6-17
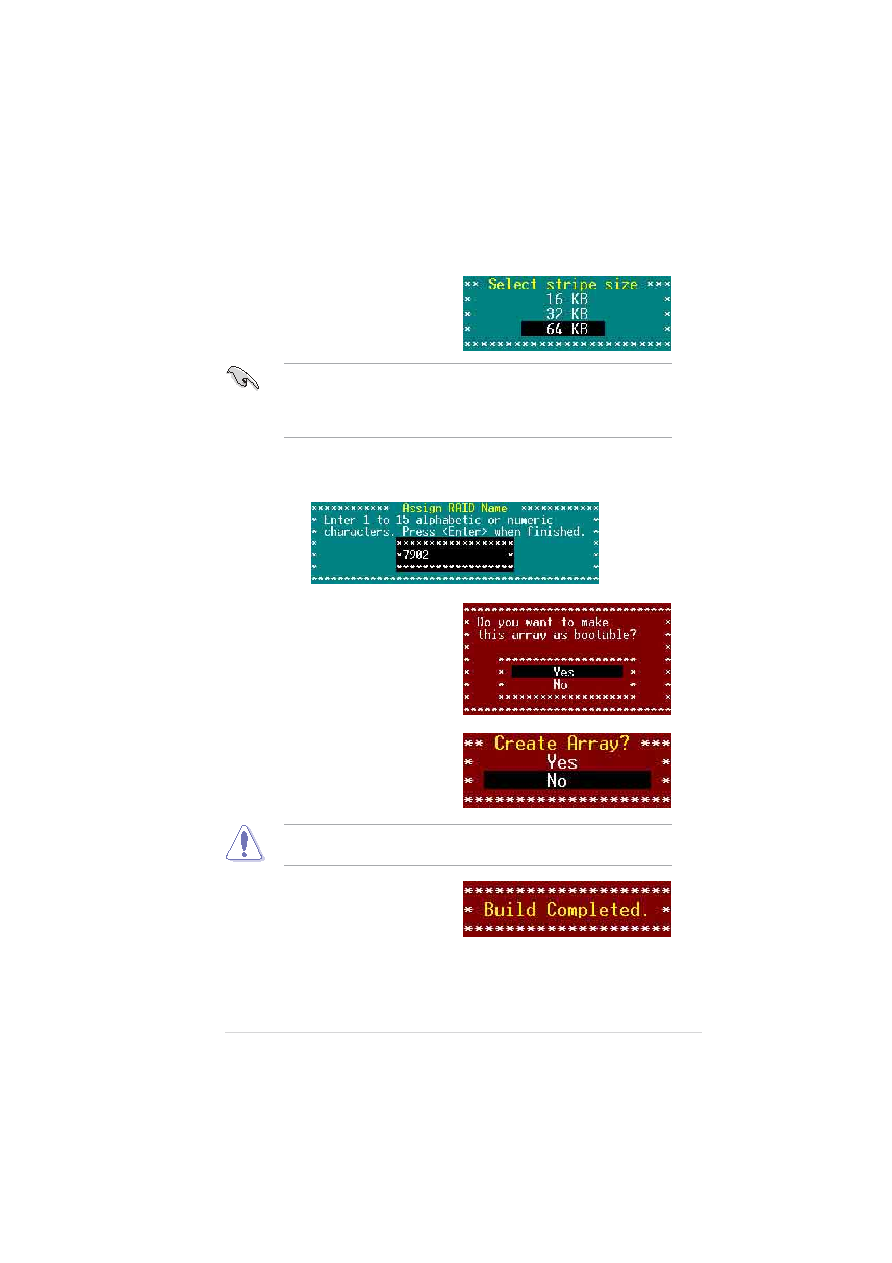
6.
Select the stripe size from the
menu, then press <Enter>.
For server systems, we recommend that you use a lower array block
size. For multimedia computer systems used mainly for audio and
video editing, we recommend a higher array block size for optimum
performance.
7.
When prompted, use the keyboard to assign a name for the RAID 10
set, then press <Enter>.
8.
If you want to make the array
bootable, select Yes
Yes
Yes
Yes
Yes from the
menu, then press <Enter>.
9.
When prompted to create the RAID
10 set, select <Yes>, then press
<Enter>.
A Build Complete
Build Complete
Build Complete
Build Complete
Build Complete message
appears to indicate that you have
successfully created the RAID 10
set.
The utility erases all data from the selected hard disk drives. Make
sure to backup all important data before creating a RAID set.