ASUS High-Speed CD-ROM Drive
QUICK INSTALLATION GUIDE
I.
Check that your package is complete: CD-ROM Drive, CD audio cable, mounting screws,
installation disk, and user’s manual.
II.
Hardware Installation
1. Turn off your computer and peripheral devices, such as your printer.
2. Ground yourself by using a wrist strap. If you do not have one, touch both of your
hands to a safely grounded object or to a metal object on your system.
3. Remove the cover from your computer.
4. Set your drive as either the Master or Slave (default) drive by placing the jumper
cap on the desired jumper.
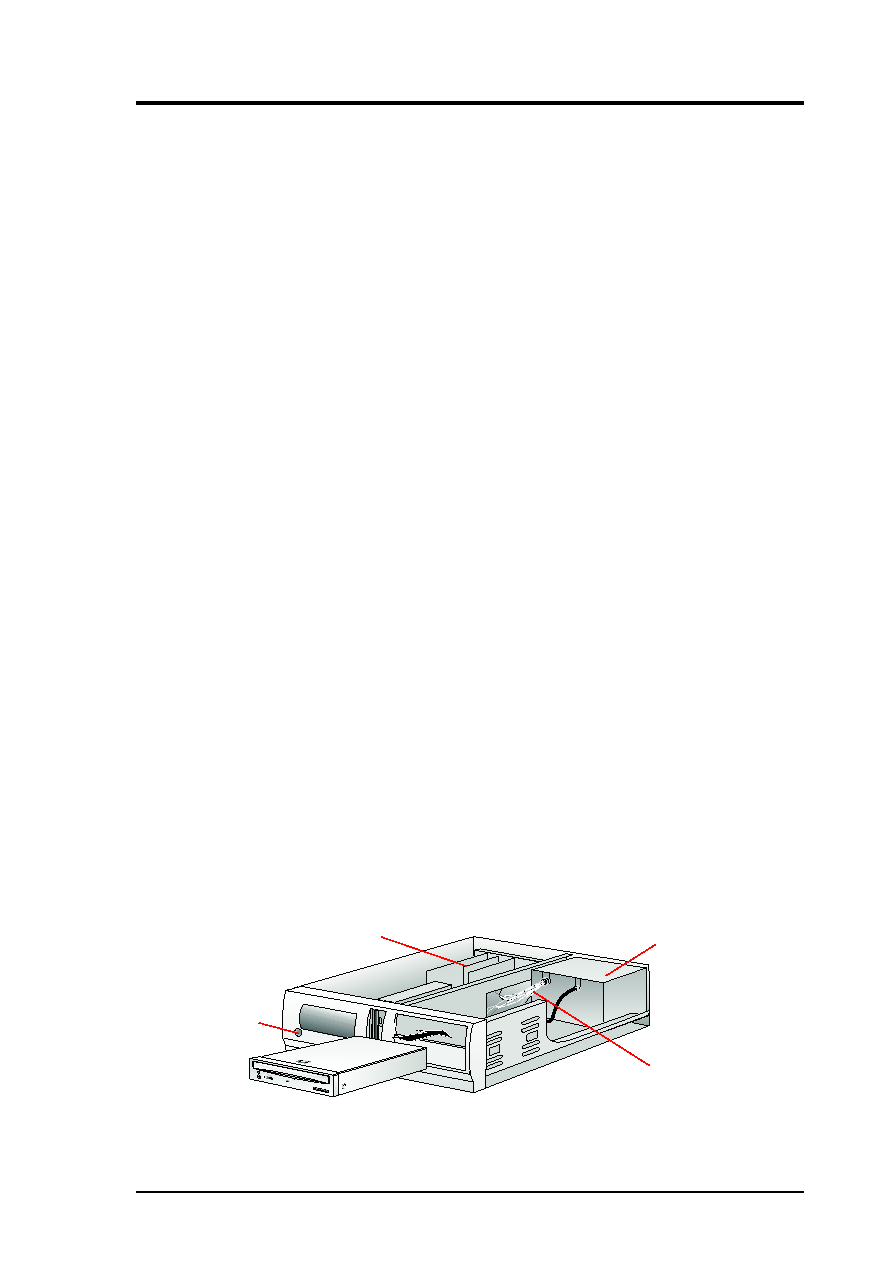
5. Insert the CD-ROM Drive into one of the free 5.25-inch bays available for disk drives.
6. Connect an unused power supply cable to the back of your CD-ROM Drive.
7. Connect the 40-pin IDE ribbon cable to the back of your CD-ROM Drive. Make
sure that the red stripe on the cable is aligned to Pin 1 of the IDE connector.
8. If you have a sound card, connect the 4-pin CD audio cable to the CD-ROM Drive’s
Analog Audio line out connector. If you do not have a sound card, plug earphones,
headphones, or powered/self-amplified speakers to the Headphones Jack on your
CD-ROM’s front panel. Set the volume controls of your drive and powered/self-
amplified speakers to minimum before starting or restarting your computer.
9. If you removed any drive or other items other than your CD-ROM Drive, put them
back into place and secure them to your computer.
10. Slide your CD-ROM Drive now into place and fasten it to your system with the
screws provided.
11. Replace the cover on your computer and secure it with the screws you removed earlier.
12. Reconnect the power supply.
III.
Software Installation
1. For DOS/Windows 3.x, insert the CD-ROM Driver for DOS/Win 3.x Installation disk
into either drive A or drive B, type A: install (or B: install) and then press [Enter],
choose your preferred setup option and then follow the instructions on the screen, and
then restart your computer after installation is complete.
2. For Windows 95 or Windows NT, Windows will automatically detect and deter-
mine the current settings for your drive and install the correct driver.
3. For other operating systems, your CD-ROM Drive supports the ATAPI drive inter-
face and your system should be able to load the appropriate driver for your drive.
CD-ROM Drive
Power Supply
Sound Card
Insert Your CD-ROM Drive
Into a Free Drive Bay
Power Supply
Cables
Power
Switch
E226
ENGLISH