ADSL Modem/Router User’s Guide
11
The management consoles provide basic configuration of the Ethernet port and 16
permanent virtual channels (PVC). The management consoles also provide advanced
network service settings and data trafftic monitoring.
NOTE: Screen displays may vary from this manual depending on model.
3. Management Consoles
3.1 Accessing the Web Console
This modem/router provides convenient setup screens for quick configuration and
advanced configurations using the web console using the latest Microsoft® Internet
Explorer.
1. Start your web browser.
2. Type the Ethernet IP address of the modem/router on the address bar of the browser.
Default IP address is 192.168.1.1
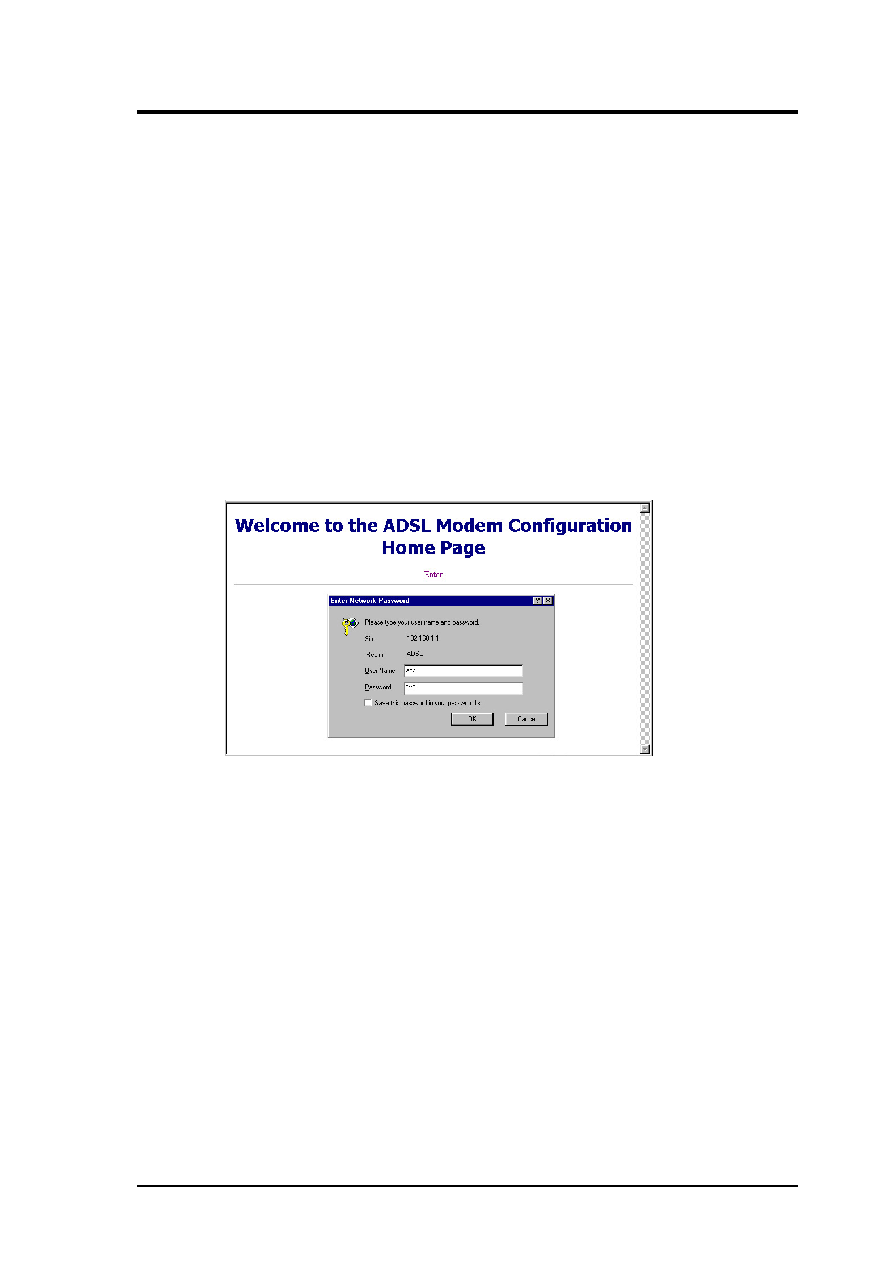
3. The modem/router’s welcome page appears. Click Enter.
4. Type the user name (default: adsl) and password (default: adsl1234) when the Enter
Network Password dialog box appears and then click OK.
The web interface for the modem/router first displays a page (S/W Version) showing the
modem/router’s Firmware Version and MAC Address.
NOTE: Your modem/router will now act as a web server sending the pages that
you requested or submit forms that you filled.
The first and the rest of the pages also provide links to the following functions:
•
S/W Version: Displays the firmware version and MAC address of your modem/router.
•
ADSL Line Status: Displays ADSL line status.
•
Quick Setup Wizard: Guides you through network configuration process (LAN and
WAN configuration).
•
Network Service: Provides network service maintenance options.
•
Sys-Maintenance: Loads default settings and user management options.
•
Reset Modem: Restarts the modem/router.