33
Getting Started
3
“Z” Icon (F1): Places the Notebook PC in Save-to-RAM suspend mode.
Tower Icon (F2): Wireless Models Only: Toggles a wireless software application. Use the
application to enable/disable the internal wireless LAN and/or Bluetooth. Status indicators
will light to show the status of each function. Windows software settings are necessary.
Hard Drive Icon (F4): Places the Notebook PC in Save-to-Disk suspend mode.
Filled Sun Icon (F5):
Decreases the display brightness
Open Sun Icon (F6):
Increases the display brightness
LCD Icon (F7): Toggles the display panel ON and OFF. This also stretches your screen
area (on certain models) to fill the entire display when using low resolution modes.
LCD/Monitor Icons (F8): Toggles between the Notebook PC’s LCD display and an ex-
ternal monitor in this series: Notebook PC LCD -> External Monitor -> Both. (This func-
tion does not work in 256 Colors, select High Color in Display Property Settings.)
IMPORTANT: Connect an external monitor before booting up the Notebook PC.
Speaker Icons (F10):
Toggles the speakers ON and OFF (only in Windows OS)
Down Speaker Icon (F11):
Decreases the speaker volume (only in Windows OS)
Up Speaker Icon (F12):
Increases the speaker volume (only in Windows OS)
Num Lk (Ins): Toggles the numeric keypad (number lock) ON and OFF. Allows you to
use a larger portion of the keyboard for number entering.
Scr Lk (Del): Toggles the “Scroll Lock” ON and OFF. Allows you to use a larger portion
of the keyboard for cell navigation.
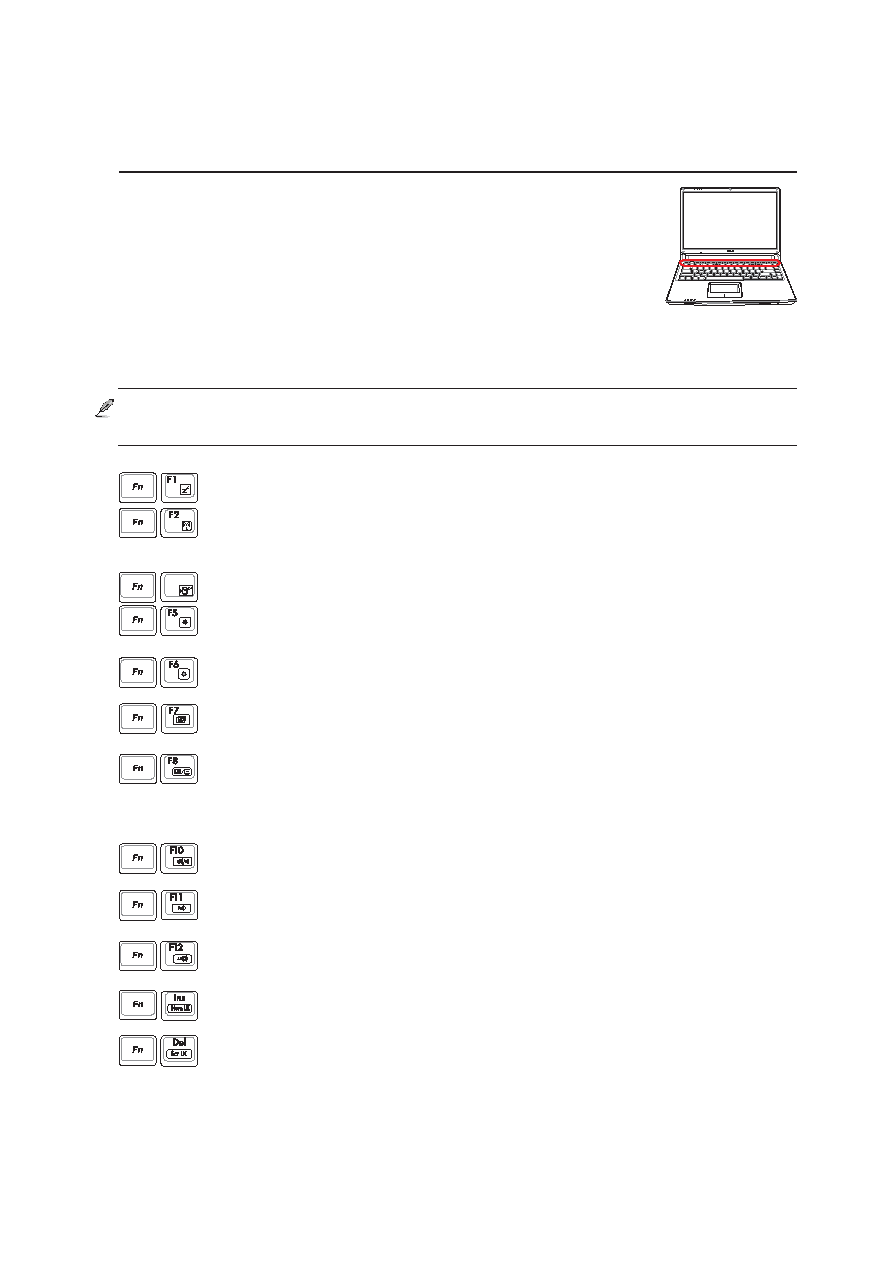
Using the Keyboard
Colored Hot Keys
The following defines the colored hot keys on the Notebook PC’s keyboard. The colored commands can only
be accessed by first pressing and holding the function key while pressing a key with a colored command.
NOTE: The Hot Key locations on the function keys may vary depending on model but
the functions should remain the same. Follow the icons instead of the function keys.
F4